
We fight your insurance company so you get every dollar you're owed.
South Florida public adjusters for hurricane, flood, fire, water and storm damage. You pay nothing unless we recover more on your claim.

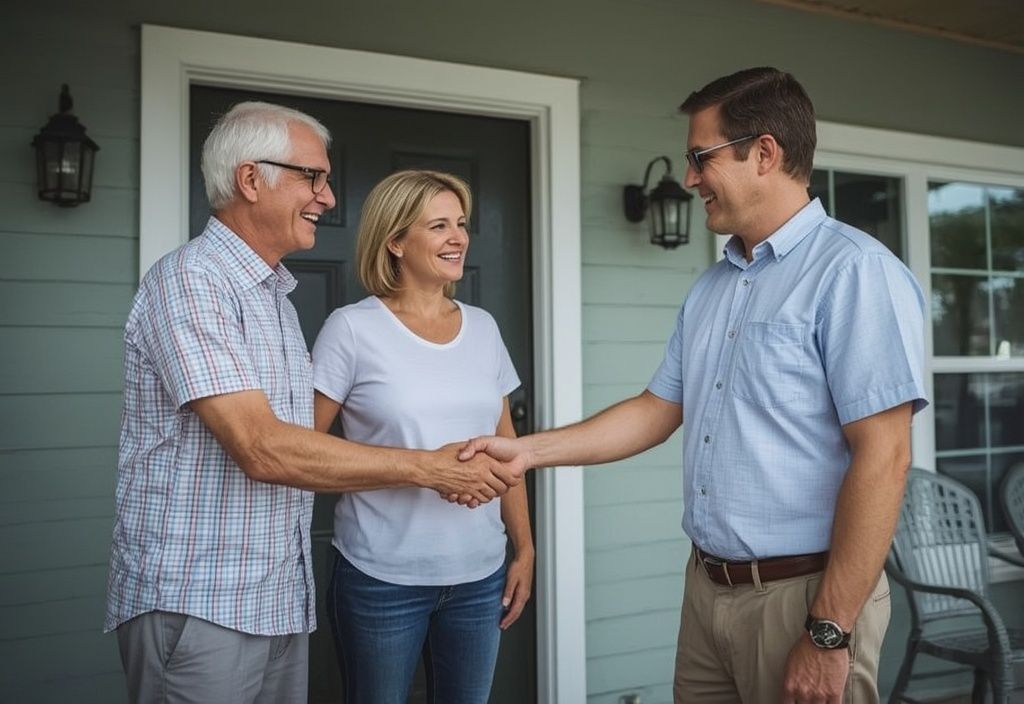
Hurricane or storm damage? You don't have to fight alone.
We document the full scope of your loss and negotiate hard with the insurer — so your settlement reflects the real cost to rebuild.
Denied or underpaid? We re-open claims and get them paid.
Many of our biggest recoveries started as a lowball offer or a flat denial. Let a licensed Florida public adjuster take a second look — free.
Three steps from lowball offer to fair payout
We handle the paperwork, the adjusters and the negotiation — you stay focused on rebuilding.
Free inspection
We inspect your property and review your policy at no cost to find every covered loss the insurer missed.
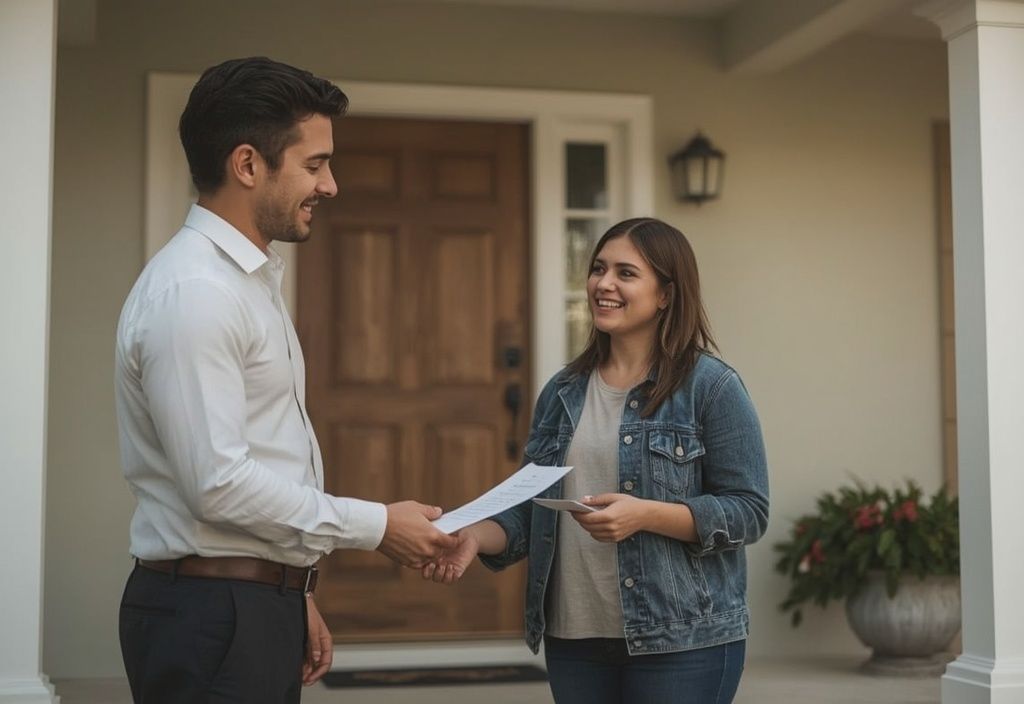
We document & file
We build a fully documented claim — photos, estimates and evidence — and file it the right way the first time.
We negotiate, you get paid
We negotiate directly with your insurance company and fight for the maximum settlement you're owed.
We handle every kind of property damage
Residential & commercial claims across South Florida — whatever the damage, we know how to value it.
Property Claims
Learn more → 💧Water Damage
Learn more → 🌬️Wind Damage
Learn more → 🔥Fire Damage
Learn more → 🌊Flood Damage
Learn more → ⛈️Storm Damage
Learn more → 🚰Pipe Burst
Learn more → 🔧Plumbing Damage
Learn more → 🕳️Sinkhole Damage
Learn more → 💨Smoke Damage
Learn more → 🌪️Tornado Damage
Learn more →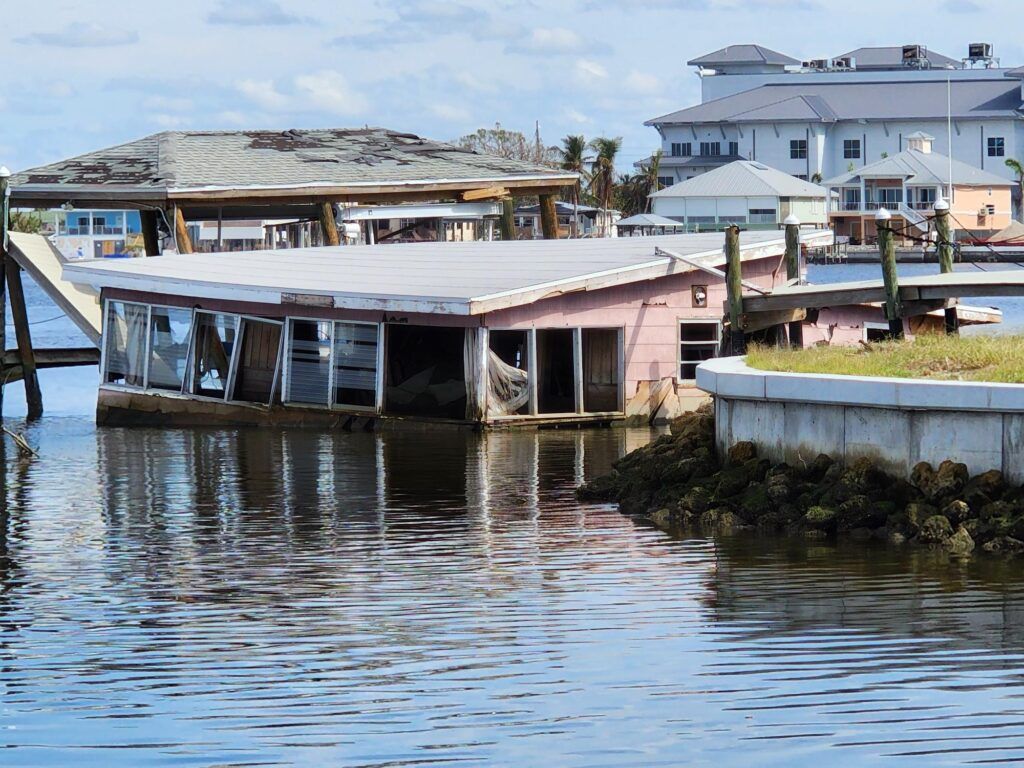
The insurance company has experts. Now so do you.
- ✓We work for you, not the insurer. Our only job is maximizing your payout.
- ✓No recovery, no fee. Nothing upfront — we're paid only when you are.
- ✓Licensed & bonded in Florida. FL License # W315061.
- ✓Local South Florida team that knows hurricane and flood claims inside out.
- ✓Denied or underpaid? We re-open and fight claims others gave up on.
Settlements our clients almost left on the table

Our insurance company offered us a $40,000 settlement. People Claims Adjusting got us a $550,000 settlement award. I can't imagine where we'd be without them.
$40K → $550K recovered ✓ Verified client
The insurance carrier first offered just $2,900. We hired People Claims Adjusting and they negotiated a $119,000 settlement. They knew exactly what to do.
$2,900 → $119K recovered ✓ Verified client
A shower pipe leak ruined our master bathroom. Insurance offered $54,000 — People Claims Adjusting settled it for $230,000.
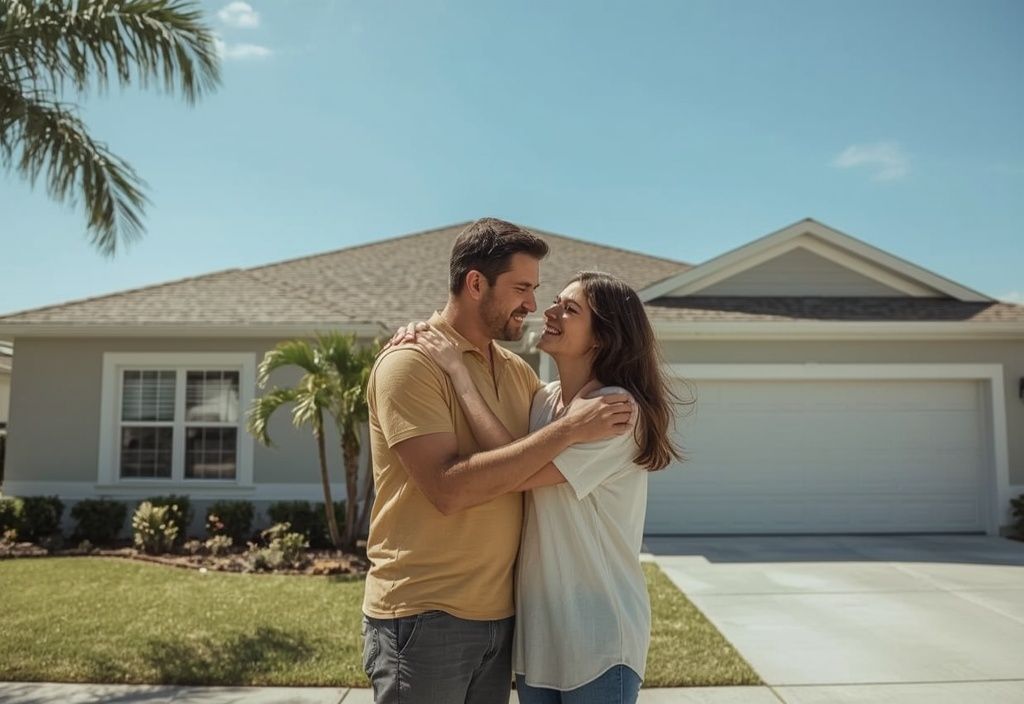
$54K → $230K recovered ✓ Verified clientHelping Florida homeowners get back home
Behind every claim is a family trying to rebuild. We treat your home like it's our own — and we don't stop until you're made whole.
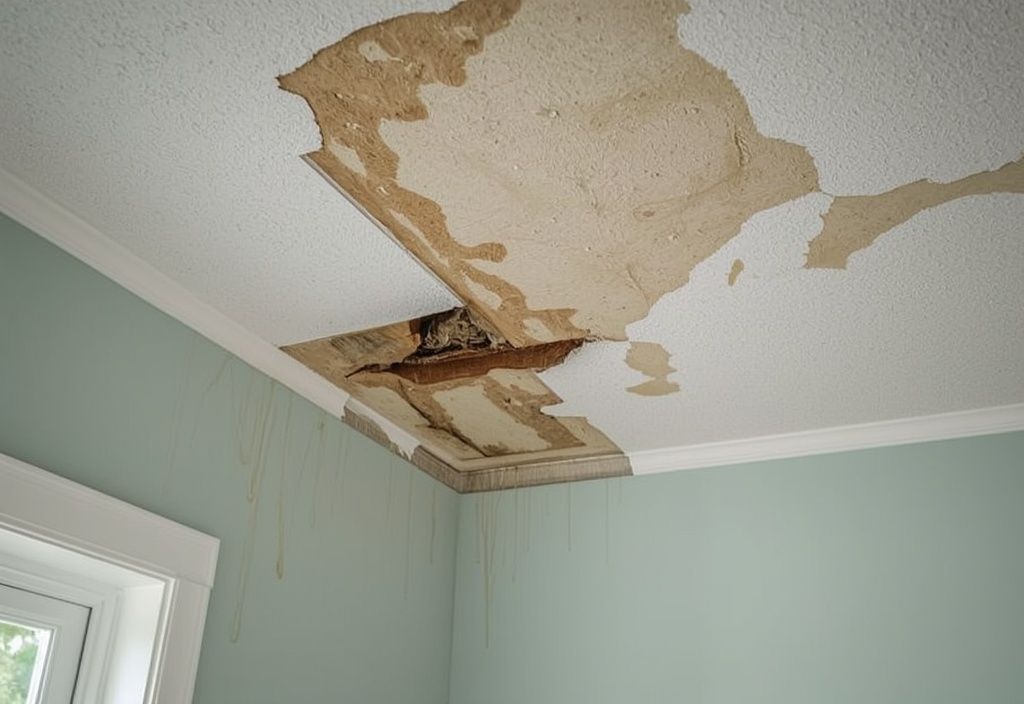
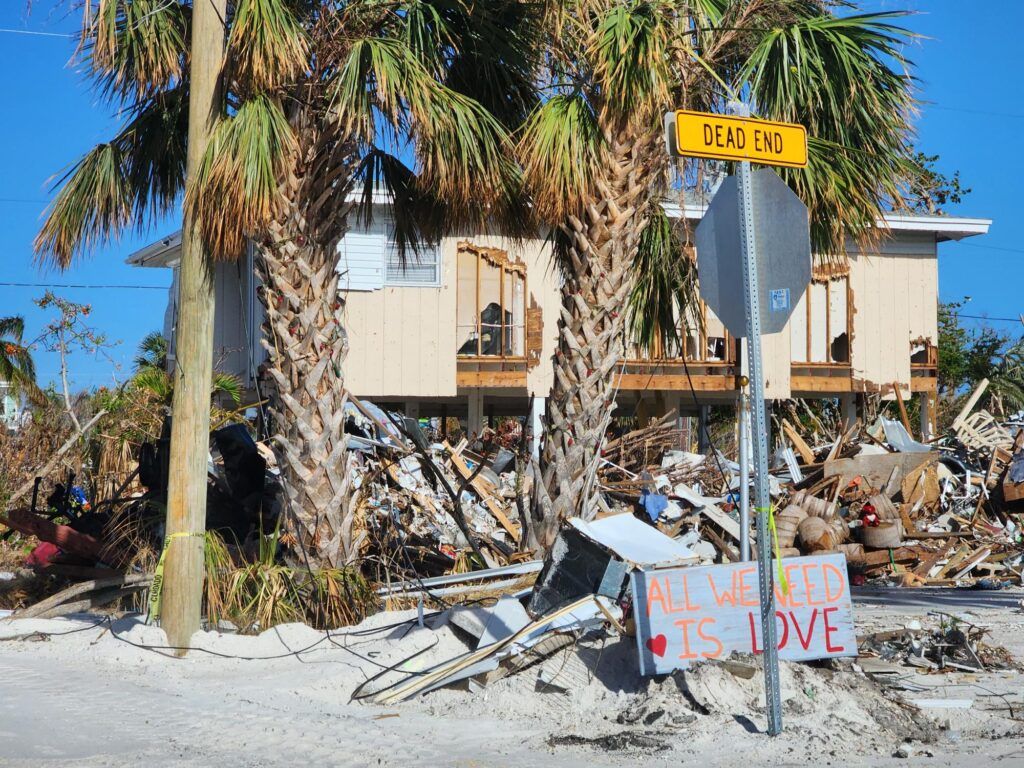
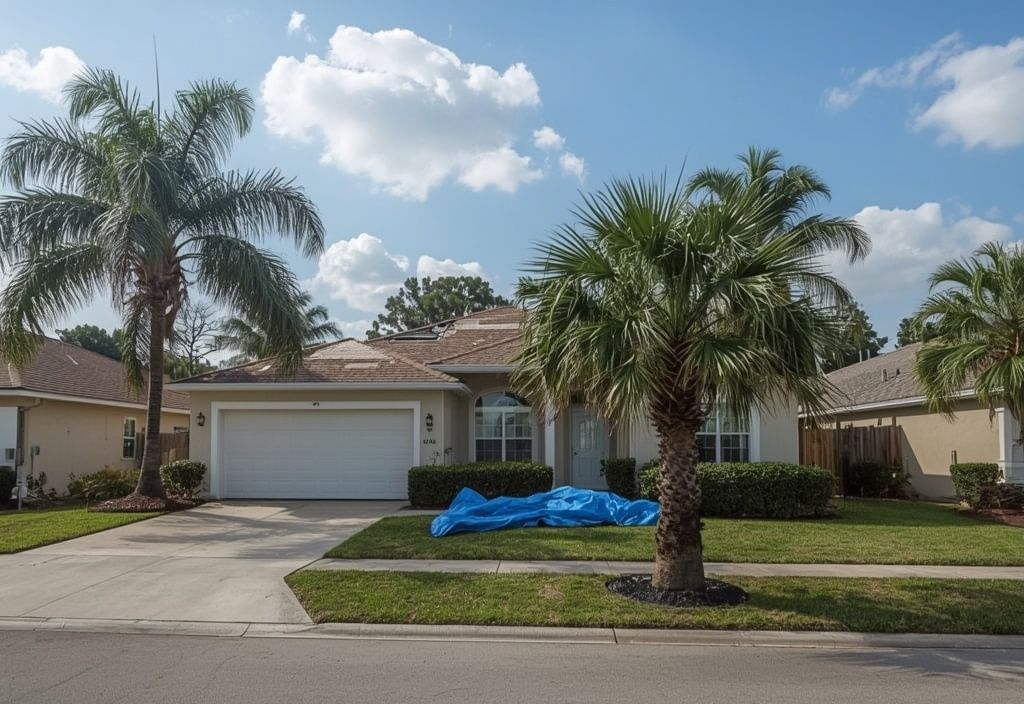
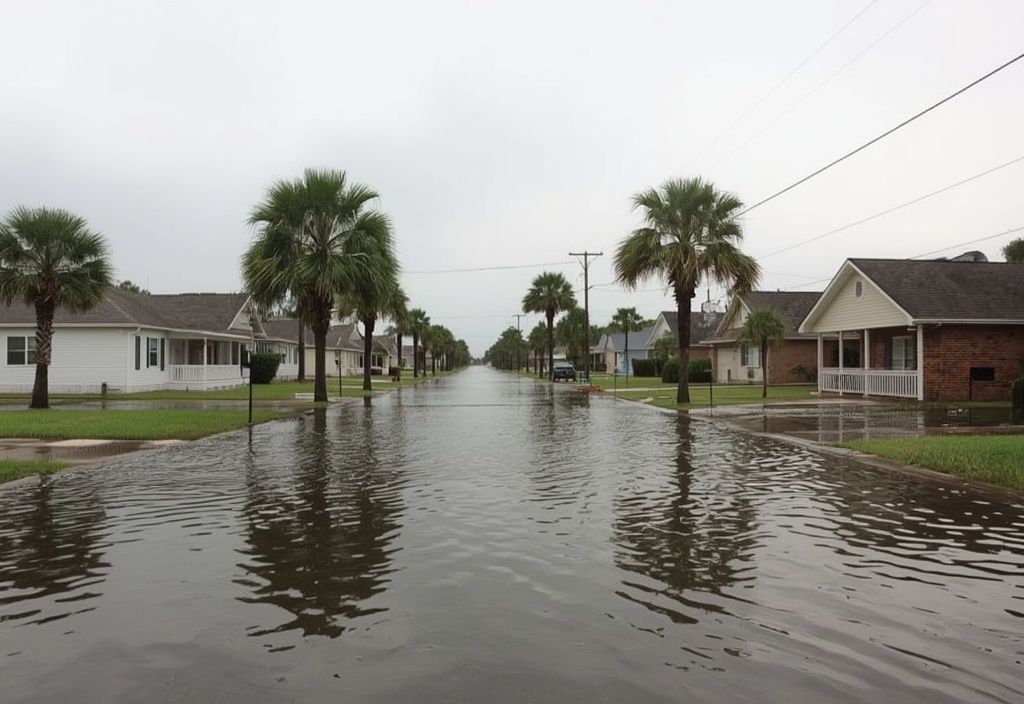
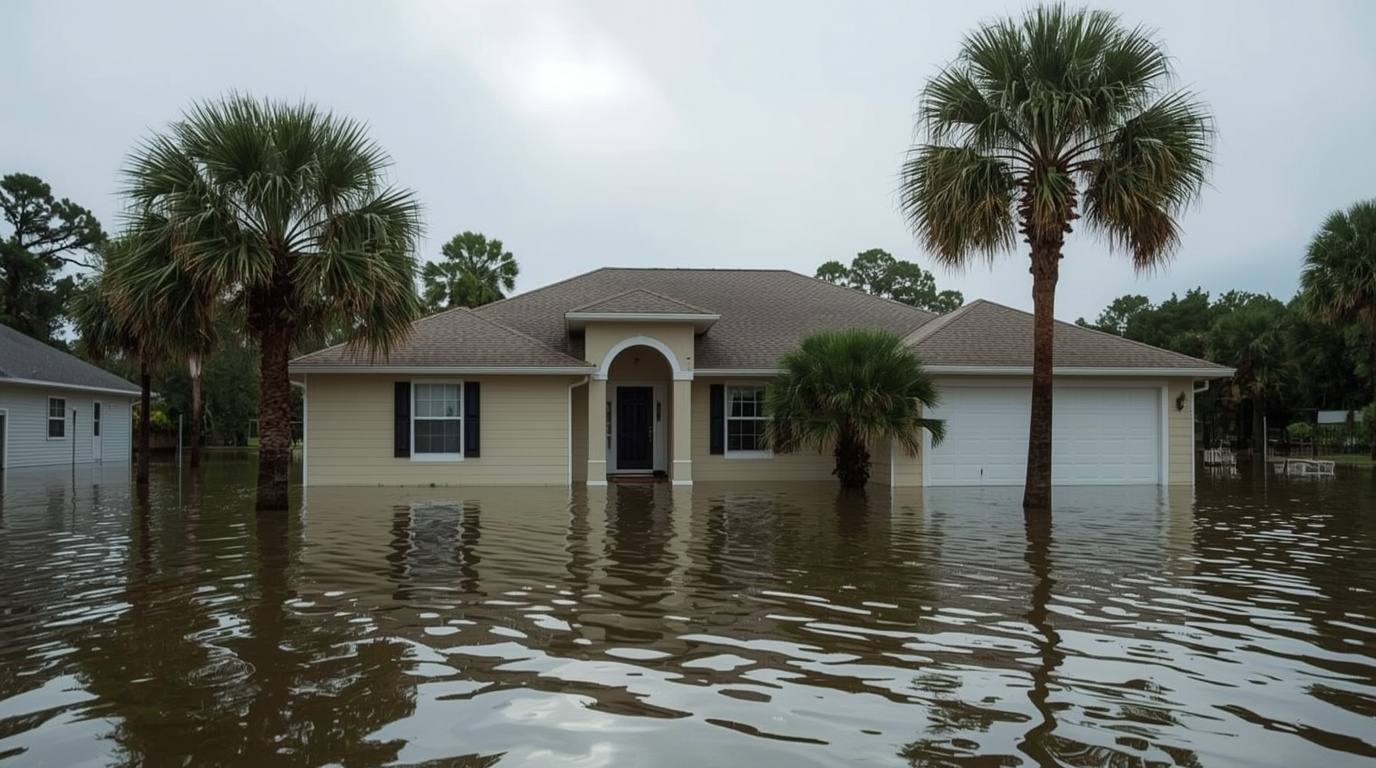
Claims gallery
From storm-torn roofs to restored homes — a look at the damage we document and the recoveries we fight for.

Florida claim guides & tips

“Cape Coral Public Adjusters: Your Ally in Disaster Recovery”
When disaster strikes, it can be overwhelming to deal with the aftermath. Whether it’s the devastation caused …

How to File a Hurricane Insurance Claim in Florida
After a hurricane, the steps you take in the first days can make or break your insurance claim. Here is how Fl…
Flood Damage in Florida: Your Guide to Insurance Claims
Flood Damage in Florida: Your Guide to Insurance Claims…
Questions Florida homeowners ask us
A public adjuster works for you — not the insurance company. We document your damage, prepare and file your claim, and negotiate directly with your insurer to get you the maximum settlement you are owed under your policy.
You pay nothing upfront. We work on a contingency basis — we only get paid a percentage once we recover money for you. No recovery, no fee.
Yes. Re-opening denied, underpaid, or closed claims is one of the most common things we do. Many of our largest recoveries started as a low or denied offer from the insurer.
Hurricane, wind, flood, water, fire, smoke, storm, pipe-burst, plumbing, sinkhole and tornado damage — residential and commercial property across South Florida.
Yes — People Claims is a licensed and bonded Florida public adjusting firm (FL License # W315061).
Find out what your claim is really worth
Send us your info and a licensed Florida public adjuster will review your situation — free, with no obligation.
📞 (954) 866-4986
5911 SW 39th Ave, Fort Lauderdale, FL 33312
claims@peopleclaims.com
Don't settle for the insurance company's first offer.
It costs nothing to find out what you're really owed. Talk to a licensed Florida public adjuster today.
📞 Call (954) 866-4986